Unit 1 (Primary school, Class 1) – I have a name – we have a school
Living Democracy » Textbooks » Exploring Children’s Rights » Part 1: Lesson plans » Unit 1 (Primary school, Class 1) – I have a name – we have a schoolA Lesson plan
| Key question/lesson topics | Main activity | Resources | |
|
Lesson 1
|
The children learn each other’s names.
|
The children introduce each other by name to the class. |
Coloured paper.
|
|
Lessons 2 and 3
|
How different are the children in our class?
|
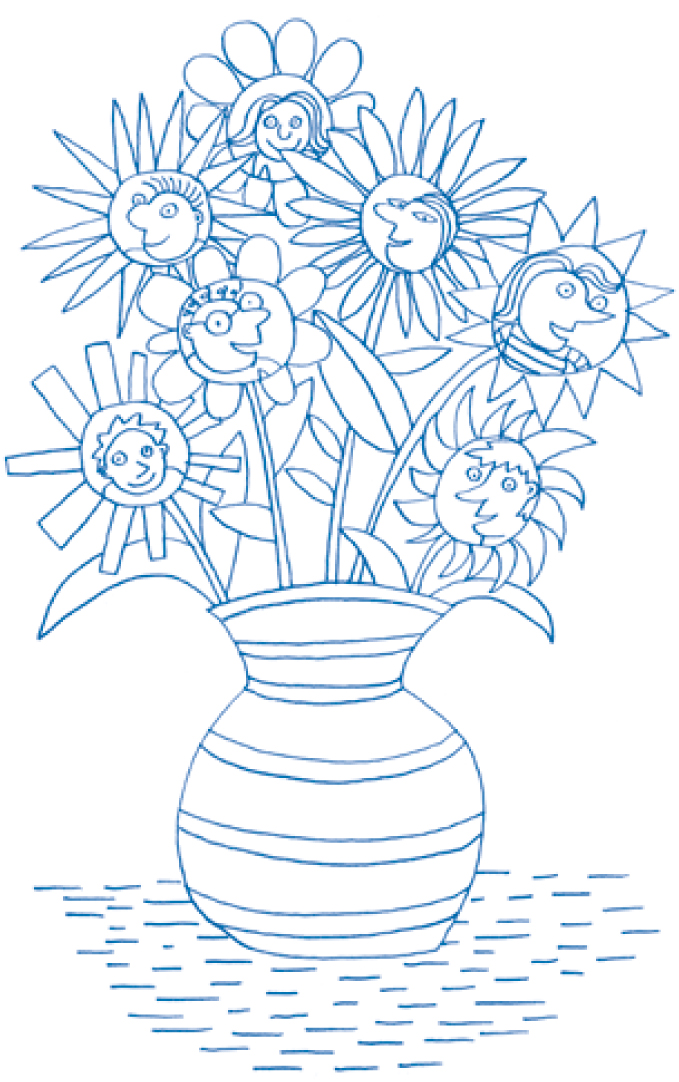
The children make flowers with their portrait in the middle. A bouquet is then made out of these individual flowers. |
Coloured paper; a portrait photo of every child; a sheet of flip chart paper.
|
|
Lesson 4
|
What do we know about each other? |
Reflection in a plenary session. |
(The finished poster)
|
B Background and educational objectives
The children become aware of the great variety of names in their class. They appreciate that each of them has received a name that distinguishes them from one another; they realise that their name cannot be taken away from them and belongs to them forever.
The children understand that their many different names also represent their many different personalities and that their very particular class community is formed out of all their individual personalities, gathered together like a colourful bouquet of flowers. As variations on the visual representation of this concept, you could work with raindrops, train-wagons, musical notes, puzzle pieces, etc. Whatever form this exercise takes, the concept that must become clear is this: together we are more than the sum of our parts. Together, we can become a bouquet, a cloud, a lake, a train, a melody, a puzzle, etc.
The children understand that together they form a learning community.
The children understand and appreciate that school is there to support them – now and in the future, on their own and together with others – in learning and in developing their knowledge and abilities.
They discover that school is not only a duty, but was also created because each child has a right to go to school and be educated and that parents, teachers and the state must ensure this right.
C Key questions for reflection on Unit 1
|
Experiencing children’s rights |
Getting to know children’s rights |
Implementing children’s rights |
|
Teacher |
||
|
In what way have the principles of children’s rights in the school and classroom been exemplified? |
What do the children now know about children’s rights?
|
Learning how to take action outside of school: what have the pupils learned for their future lives? |
|
School is a part of life, a class is a micro-community in its own right. The bouquet of flowers acts as a strong symbolic representation of this. The articles of the UN Convention on the Rights of the Child mentioned to the right can be expressed by the children in these lesson sequences. |
Article 7 and 28 (see appendix: UN Convention on the Rights of the Child).
|
The children participate in deciding where the poster showing the bouquet of flowers is to be hung up.
|
|
Pupils |
||
|
How did I experience children’s rights in class? |
What have I learned about children’s rights? |
What kind of action am I able to take now? |
|
Each one of us is unique. Each child is welcome in class. It would be a pity if one of us were missing in our class. We all have the same rights. |
We have special rights as a child: We have a name that no one can take away from us (Article 7). We have the right to go to school and to learn how to read and write (Article 28). Without school, no one would be able to find a job as a grown-up. |
I know now that I feel more comfortable as a member of a class that is a good and supportive group. I will try to support the other children in the class so that they feel as good as I do. |
D Procedure
Lesson 1
The children sit in a circle. In the middle of the circle, colourful paper hearts have been laid out on the floor. Each heart carries a child’s name and has a string attached to it. There is also one heart for the teacher with his or her name on it in the middle of the circle.
The teacher encourages the children to join a conversation:
- Do we know the names of everyone in this group? Who is who?
- Each child takes a heart with another child’s name on it and responds to the following questions: What do I like about this child? What have I already done together with him or her? Why would I miss him or her if he or she were not here?
- Other questions that may be included: What might another person say about this child, for example a teacher, a male or female member of the family, the child him or herself, a friend, somebody else in the room, in the school or in the community?
After each child has expressed their ideas about the child pictured on their chosen heart, they then give that heart to the child who is depicted on it.
Every child keeps his or her heart and wears it during the lesson as a name tag. (This can be continued during the following lessons until all the children have gotten to know each other well.)
The concluding discussion can be introduced by the teacher asking: “Why have I taken different colours and not only one?”
The teacher asks the children to bring a portrait photograph to the next lesson. (Alternatively: the teacher could take pictures of the children and have them printed out in time for the next lesson.)
Lessons 2 and 3
To introduce lesson 2, the teacher explains: Every child in this world is different. Every child is unique in his or her skin colour, characteristics, personality and name!
Children also have rights, the so called «Rights of the Child», which are recognised in almost every country in the world. These rights include, for example:
- the right to have a name (Article 7 can be read out loud, or perhaps an abridged version thereof);
- the right to an education (Article 28).
Only someone who has a name can be called by others, so it is important to know these names!
A discussion is opened about the points discussed so far, children express their questions and opinions. To conclude: All of us together, with all our different names, qualities, characteristics and all our different skin colours, make up this class.
We are going to make a picture of our class – it is not made up of hearts, but of flowers gathered together and placed in a vase. The vase stands for the school, the school building for our classroom. All of us are the flowers held by that container. Without us, there would not be a school: the school would be no more than an empty container, an empty vase.
The teacher explains the different stages of the activity:
- You will make your own flowers.
- You will paint the petals and stick a photo of yourself into the middle.
- The flowers will be put together to form a bunch.
- The bunch will be stuck onto a poster.
- In this way, we will make a picture of our colourful and diverse class!
Before this creative activity or immediately after, the children think about and try to interpret the image of the flowers in the vase. The teacher collects the various views and ideas. The children may develop their ideas freely, referring perhaps to questions such as the following:
- What could the flowers symbolise?
- What could the vase symbolise?
- Why is it important to have a name?
Depending on the time and the materials that are available, this activity may be adapted in various ways, for example:
- The pupils may draw, cut out and decorate the flowers themselves or are given cut-out flowers to decorate.
- The teacher has prepared the centre of the flower and the pupils create the petals.
- The photos are cut out to fit into the centre of the flower.
Children who have finished their work quickly can draw more small flowers without photos.
Finally, a display on one of the classroom walls is put up entitled “Class Bouquet.” The vase shows abbreviated versions of the children’s rights that relate to the picture (Articles 7 and 28).
Lesson 4
Setting:
- The poster has been fixed to the board or the wall.
- The pupils sit in a large semi-circle at the front of the classroom (in a big class, two semi-circles may be necessary). All pupils should have a good view of the poster.
The pupils think about the following questions:
- What did I enjoy during this activity?
- What have I learned?
- What do I know about the other children?
- What have I learned about the teacher?
The teacher guides the pupils in sharing their comments and feedback with each other.
Towards the end of the lesson, the teacher gives the pupils more information about the Convention on the Rights of the Child. In particular, he or she refers to the two rights shown on the vase. He or she informs the children about Universal Children’s Day (20 November).
To finish, the teacher discusses with the class whether the poster should be exhibited in one of the school corridors or in the school entrance hall. The class discusses the pros and cons: Where should the poster be hung up so that all visitors may see it? What can we do if a new child joins our class?